Bootstrap Header Design
Overview
As inside of printed files the header is one of the most necessary elements of the website pages we set up and get to use regularly. It tightly holds some of the most essential related information regarding the identity of the organization as well as people behind the web page itself and the importance of the whole site-- its navigating structure which together with the Bootstrap Header Form itself ought to be thought and crafted in this sort of way that a visitor in a rush or definitely not actually understanding in which way to head to merely take a quick look at as well as locate the needed information. This is the best circumstances-- in the real life making as near as attainable to this visual aspect and activity also goes on since we almost each moment have some project certain restrictions to think about. Furthermore compared with the written documents around the world of net we ought to always bear in mind the diversity of attainable devices on which our web pages could potentially get shown-- we ought to assure their responsive attitude or to puts it simply-- ensure that they will display top at any screen size possible.
And so why don't we have a look and check out the way in which a navbar gets established in Bootstrap 4. ( read more here)
How to use the Bootstrap Header Content:
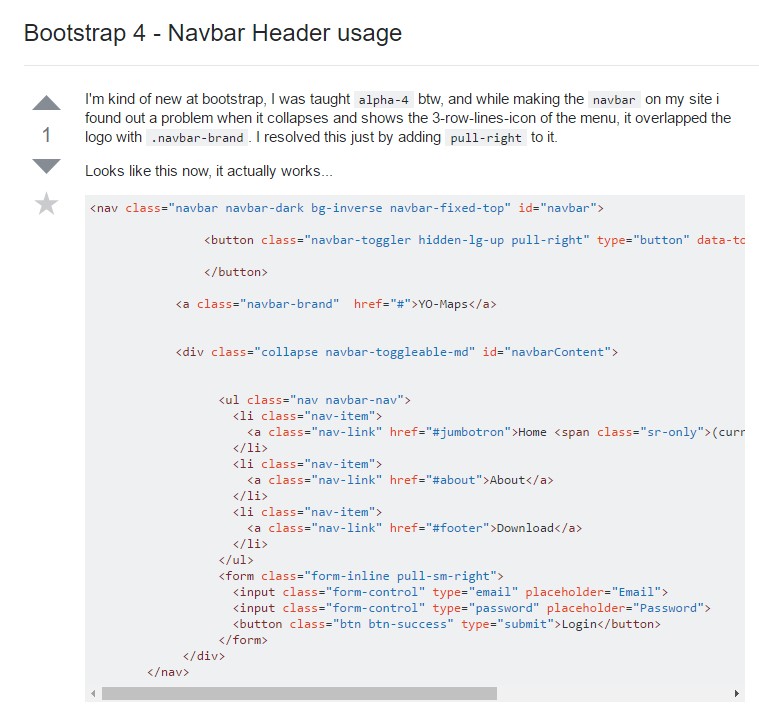
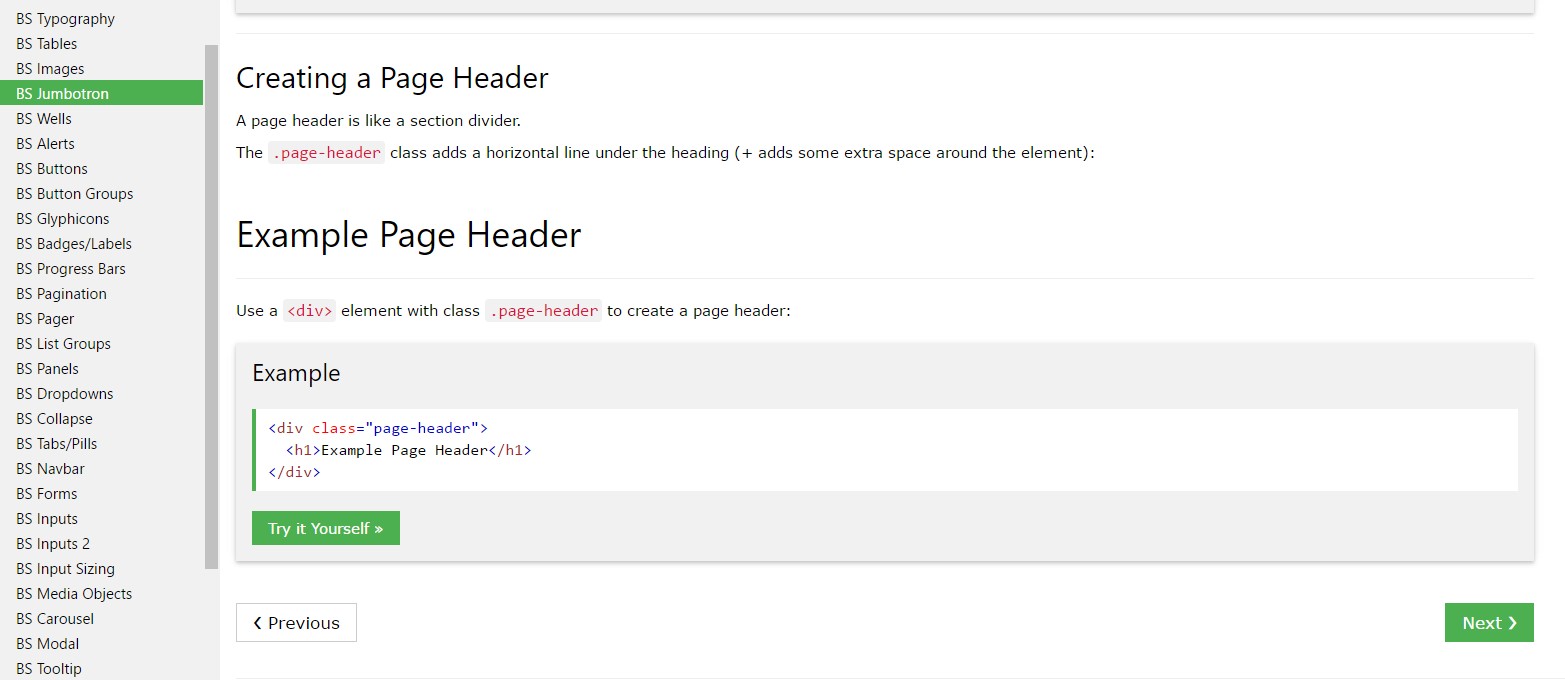
First if you want to create a page header or else as it gets referred to in the framework-- a navbar-- we ought to wrap the whole item in a
<nav>.navbar.navbar-toggleable- ~ screen size ~.bg-*.navbar-light.navbar-lightInside of this parent component we need to start by inserting a switch feature which will be employed to show the collapsed information on a smaller sized display sizes-- to achieve that develop a
<button>.navbar-toggler.navbar-toggler-left.navbar-toggler-righttype = " button "data-toggle ="collapse"data-target = " ~ the collapse element ID ~What is certainly bright new for most current alpha 6 release of the Bootstrap 4 framework is that inside the
.navbar-togler<span>.navbar-toggler-icon<a>.navbar-brand<div class="img"><img></div>Now-- the main component-- developing the collapsible container for the fundamental internet site navigation-- to do it produce an element through the
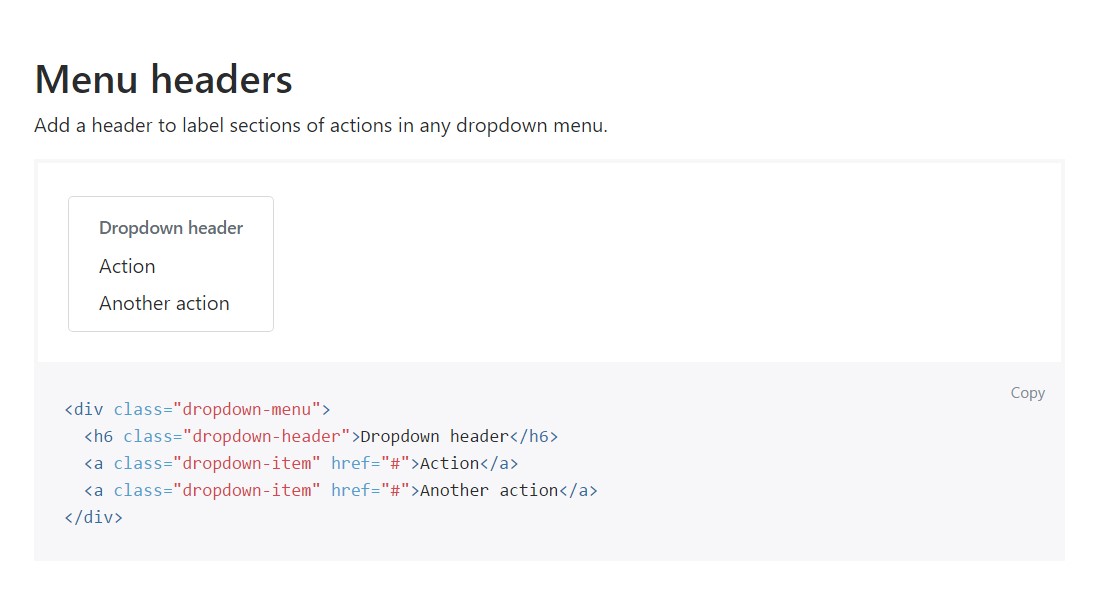
.collapse.navbar-collapseid =" ~ same as navbar toggler data-target ~ ".collapse<ul>.navbar-nav<ul><li>.nav-item<a>.nav-link.nav-item.nav-link.nav-item.dropdown<li>.dropdown-toggle.nav-link.nav-item<div>.dropdown-menu.dropdown-itemSome example of menu headers
Include a header to label parts of activities within any dropdown menu.

<div class="dropdown-menu">
  <h6 class="dropdown-header">Dropdown header</h6>
  <a class="dropdown-item" href="#">Action</a>
  <a class="dropdown-item" href="#">Another action</a>
</div>
Additional possibilities
Another brand new thing for this version is the option to fit an inline forms in your
.navbar.form-inline<span>.navbar-textConclusions
The moment it goes to the header elements in the most recent Bootstrap 4 edition this is being simply handled with the built in Collapse plugin and a few navigation special content classes-- a number of them built particularly for maintaining your brand's identification and others-- to make certain the actual webpage navigating system will show best collapsing in a mobile style menu when a indicated viewport width is reached.
Examine a couple of online video training relating to Bootstrap Header
Connected topics:
Bootstrap Header: formal records
Bootstrap Header information
Bootstrap 4 - Navbar Header utilization